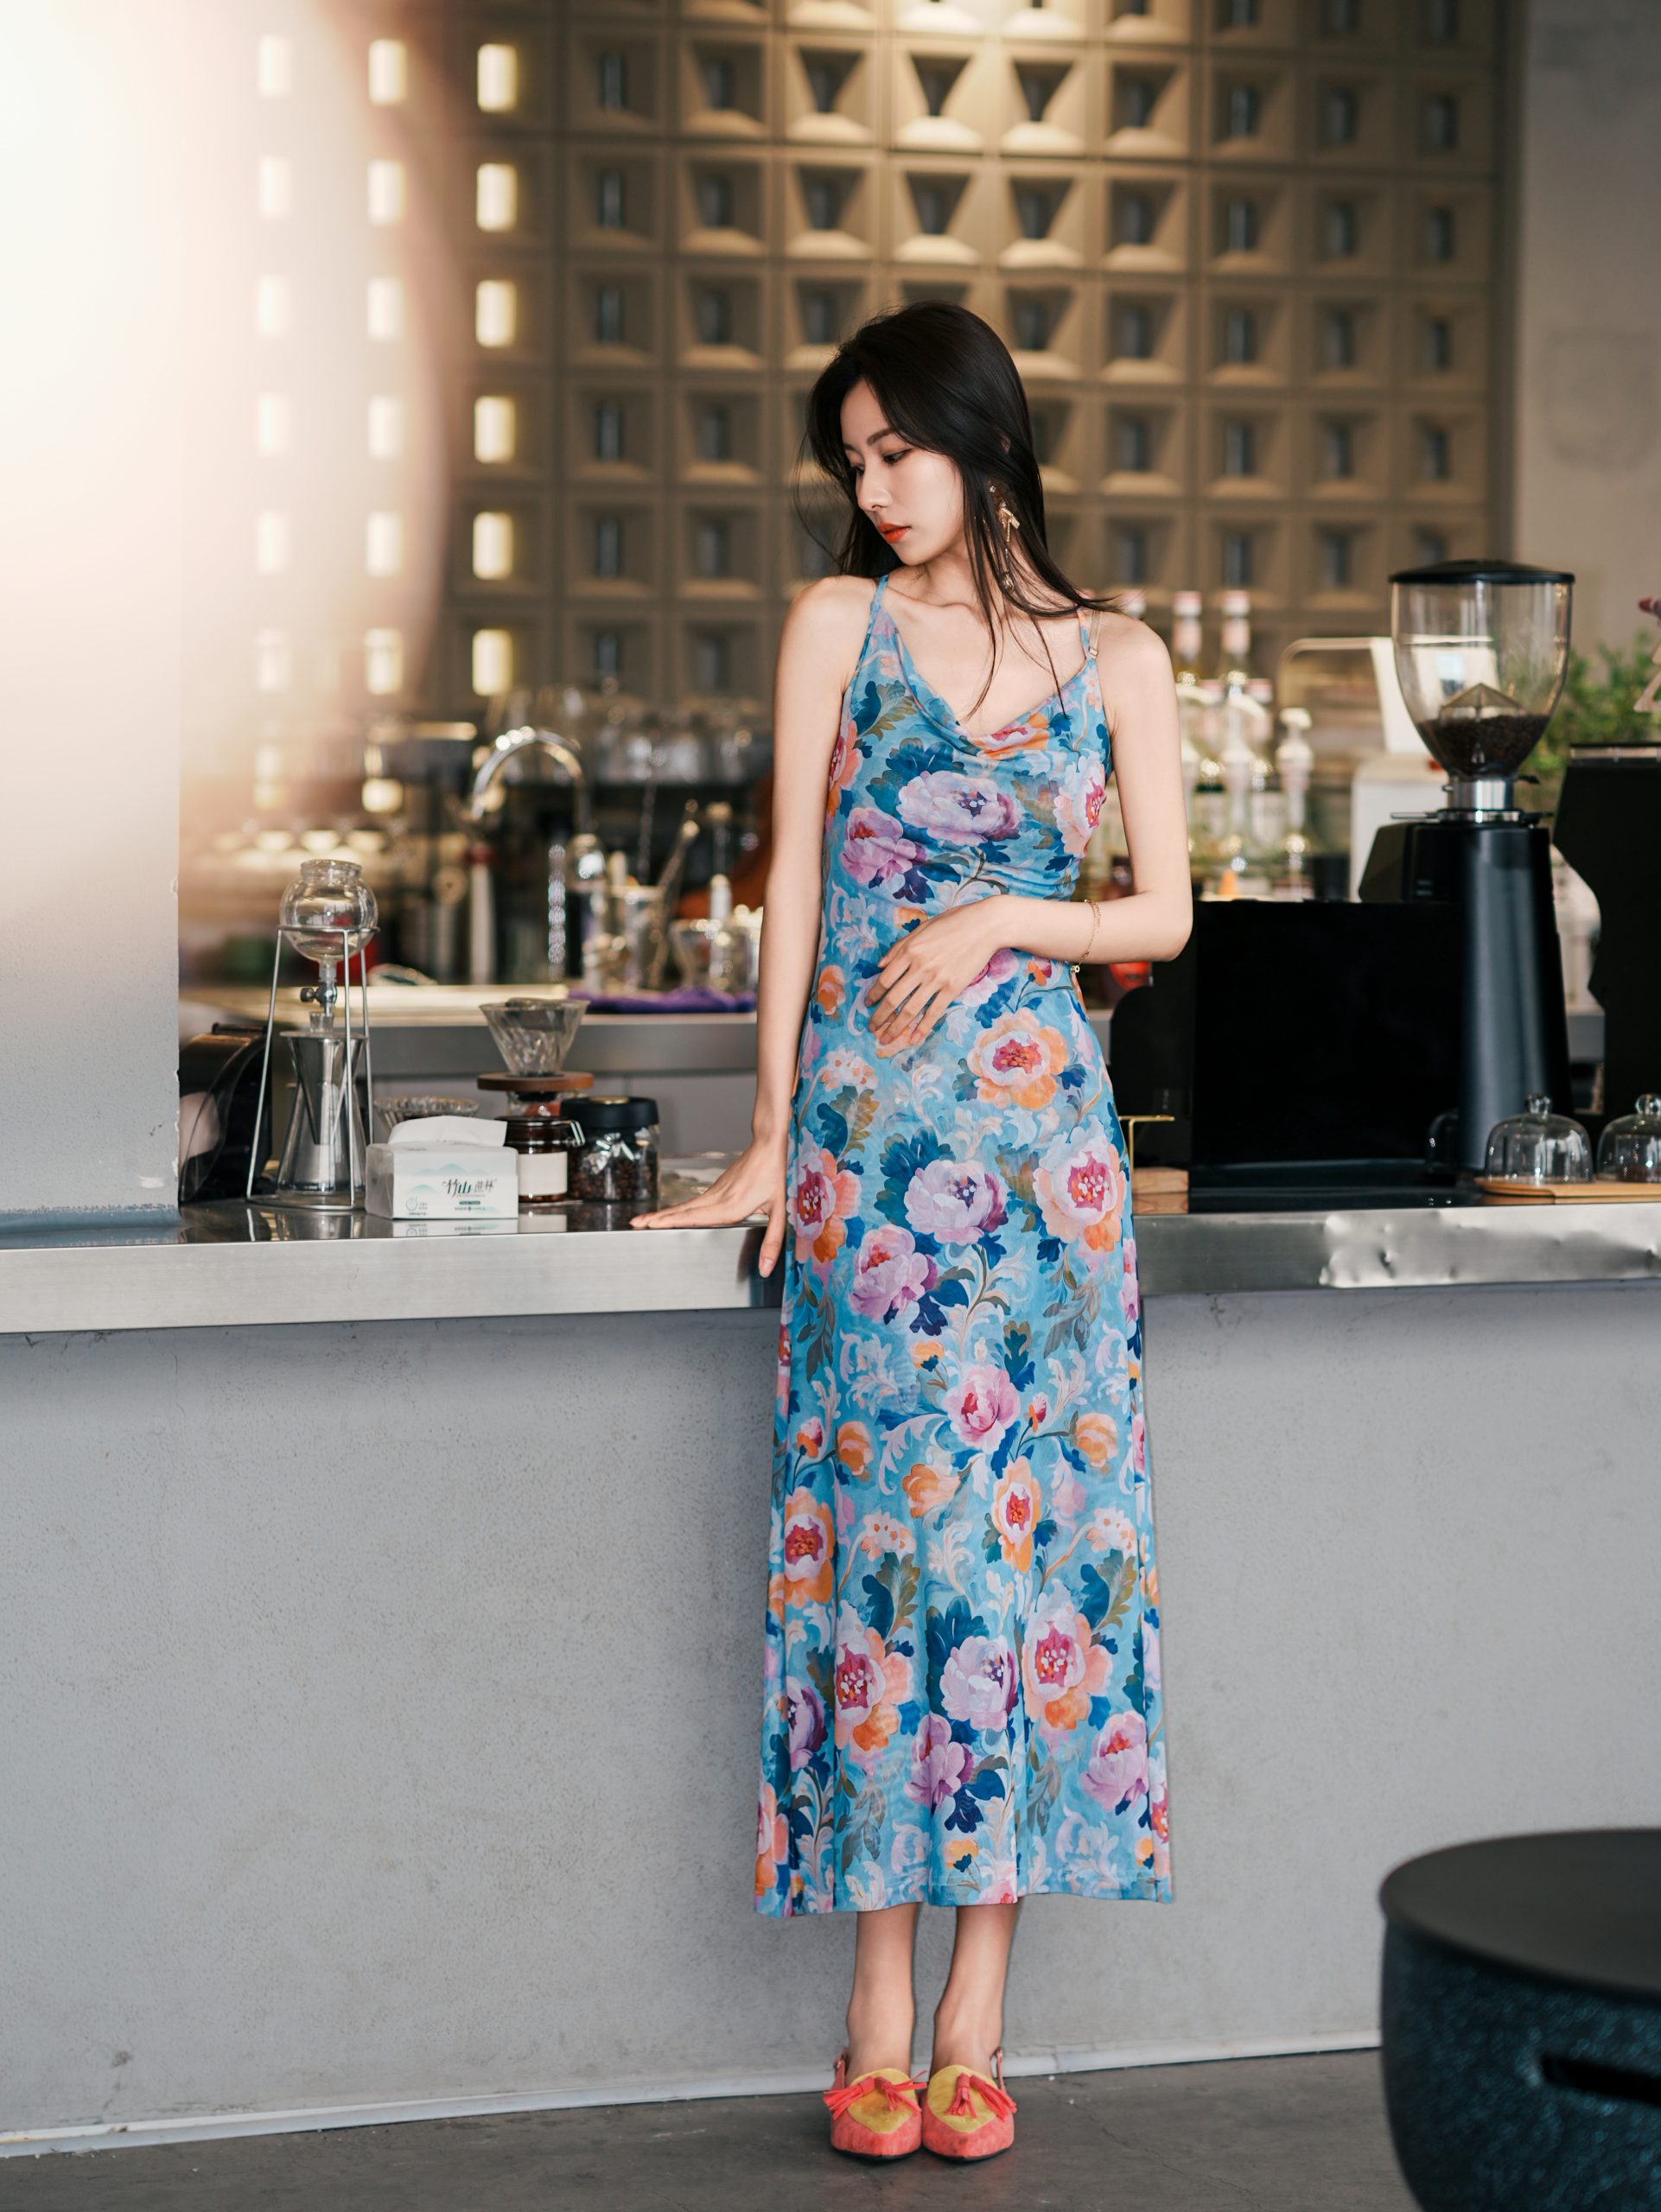
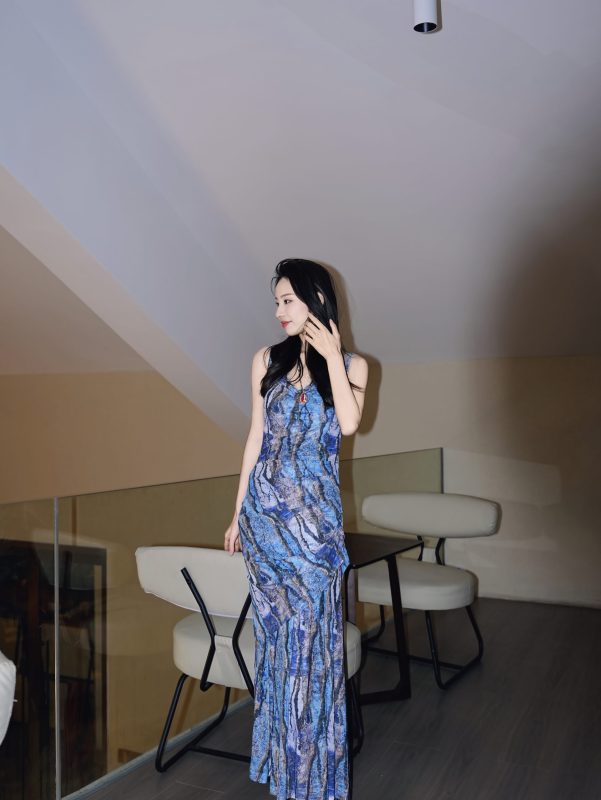
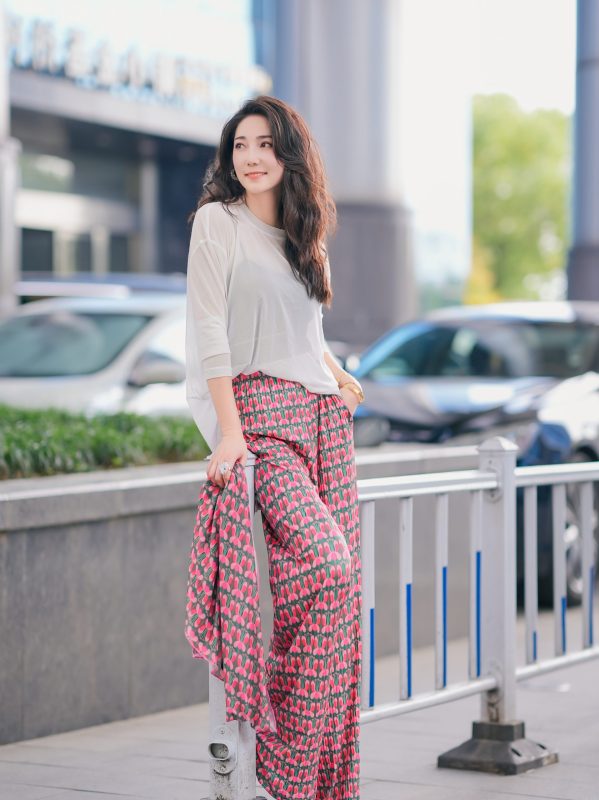
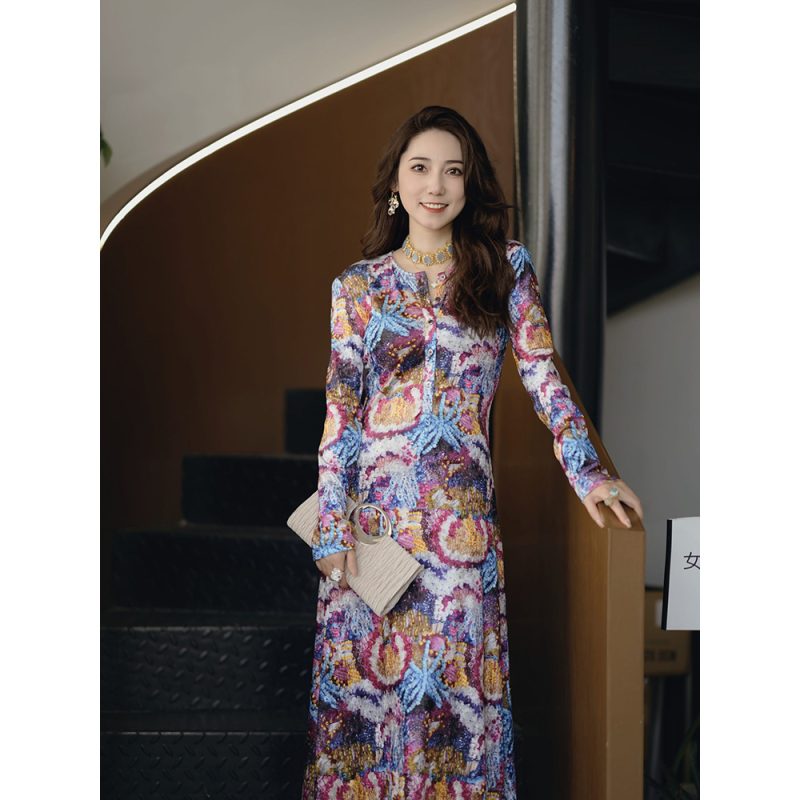
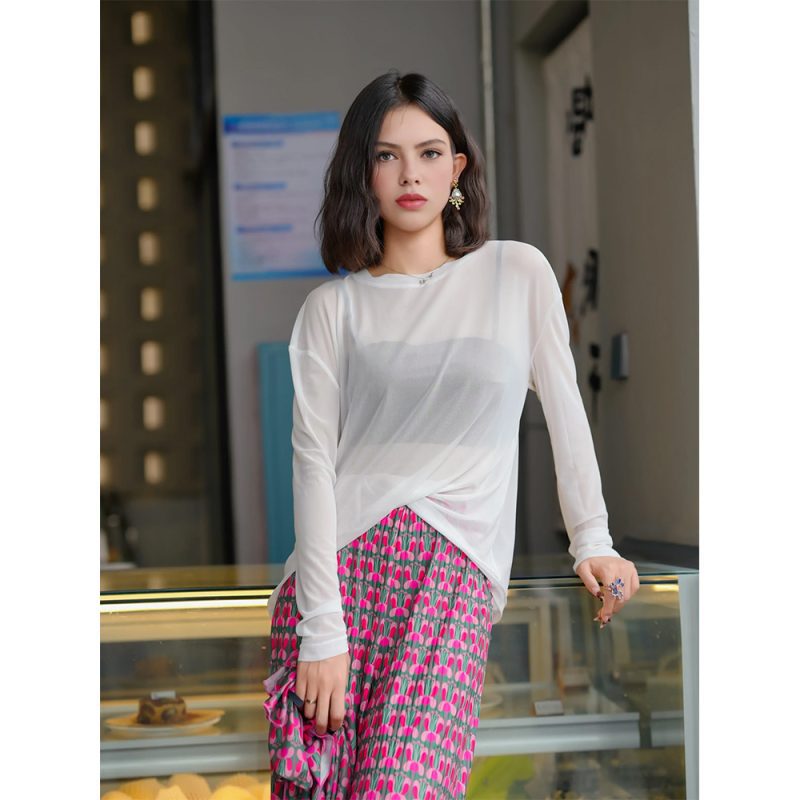
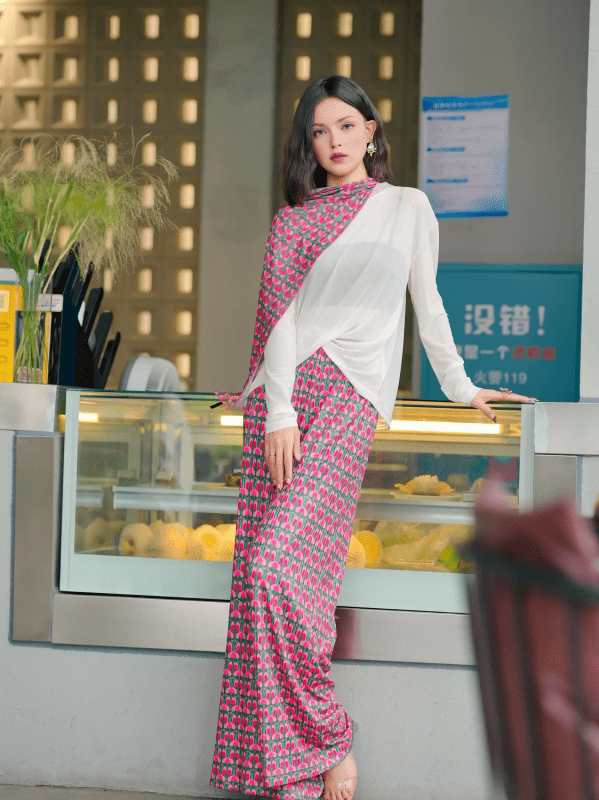
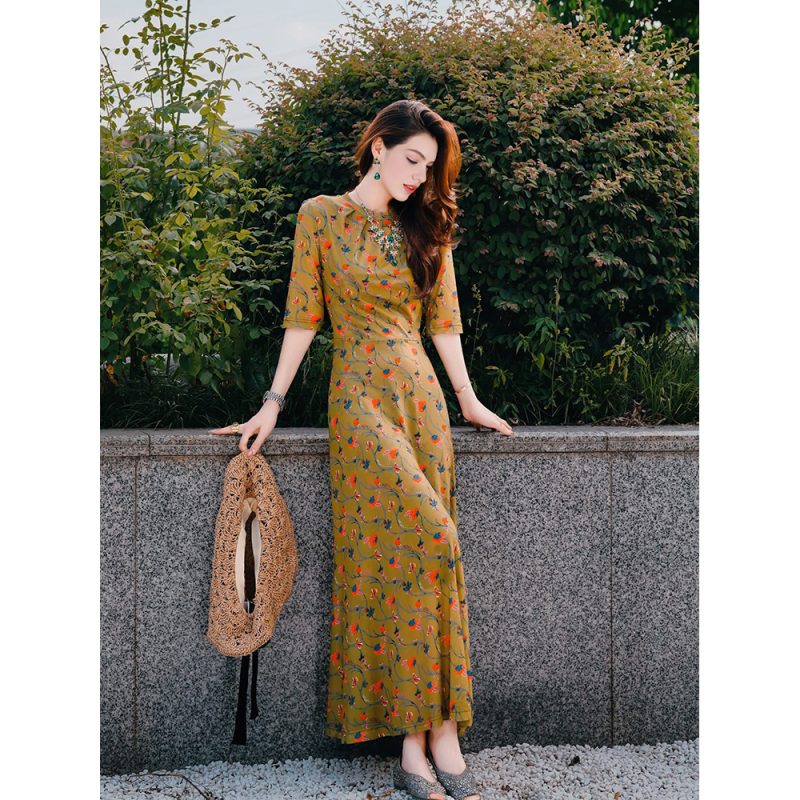
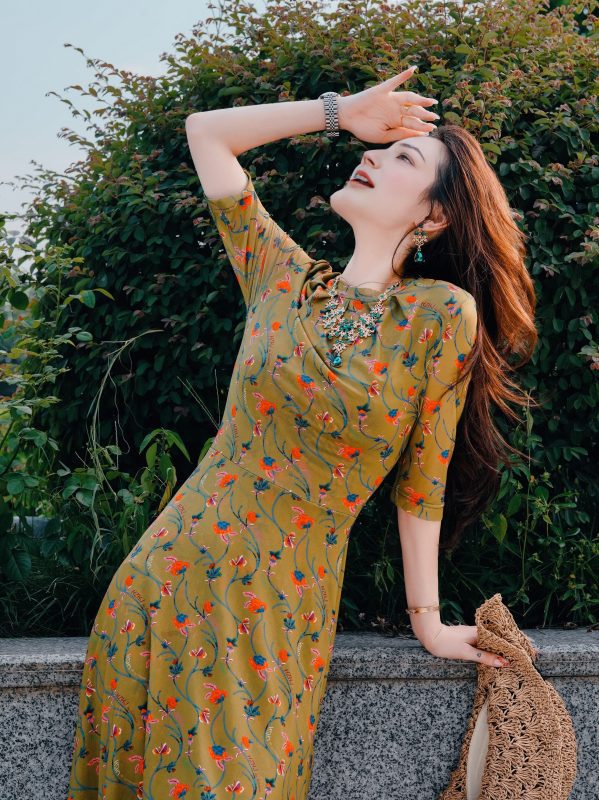
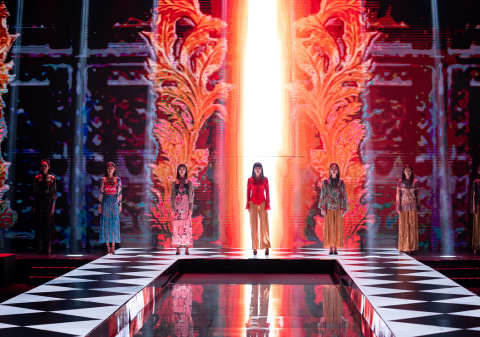
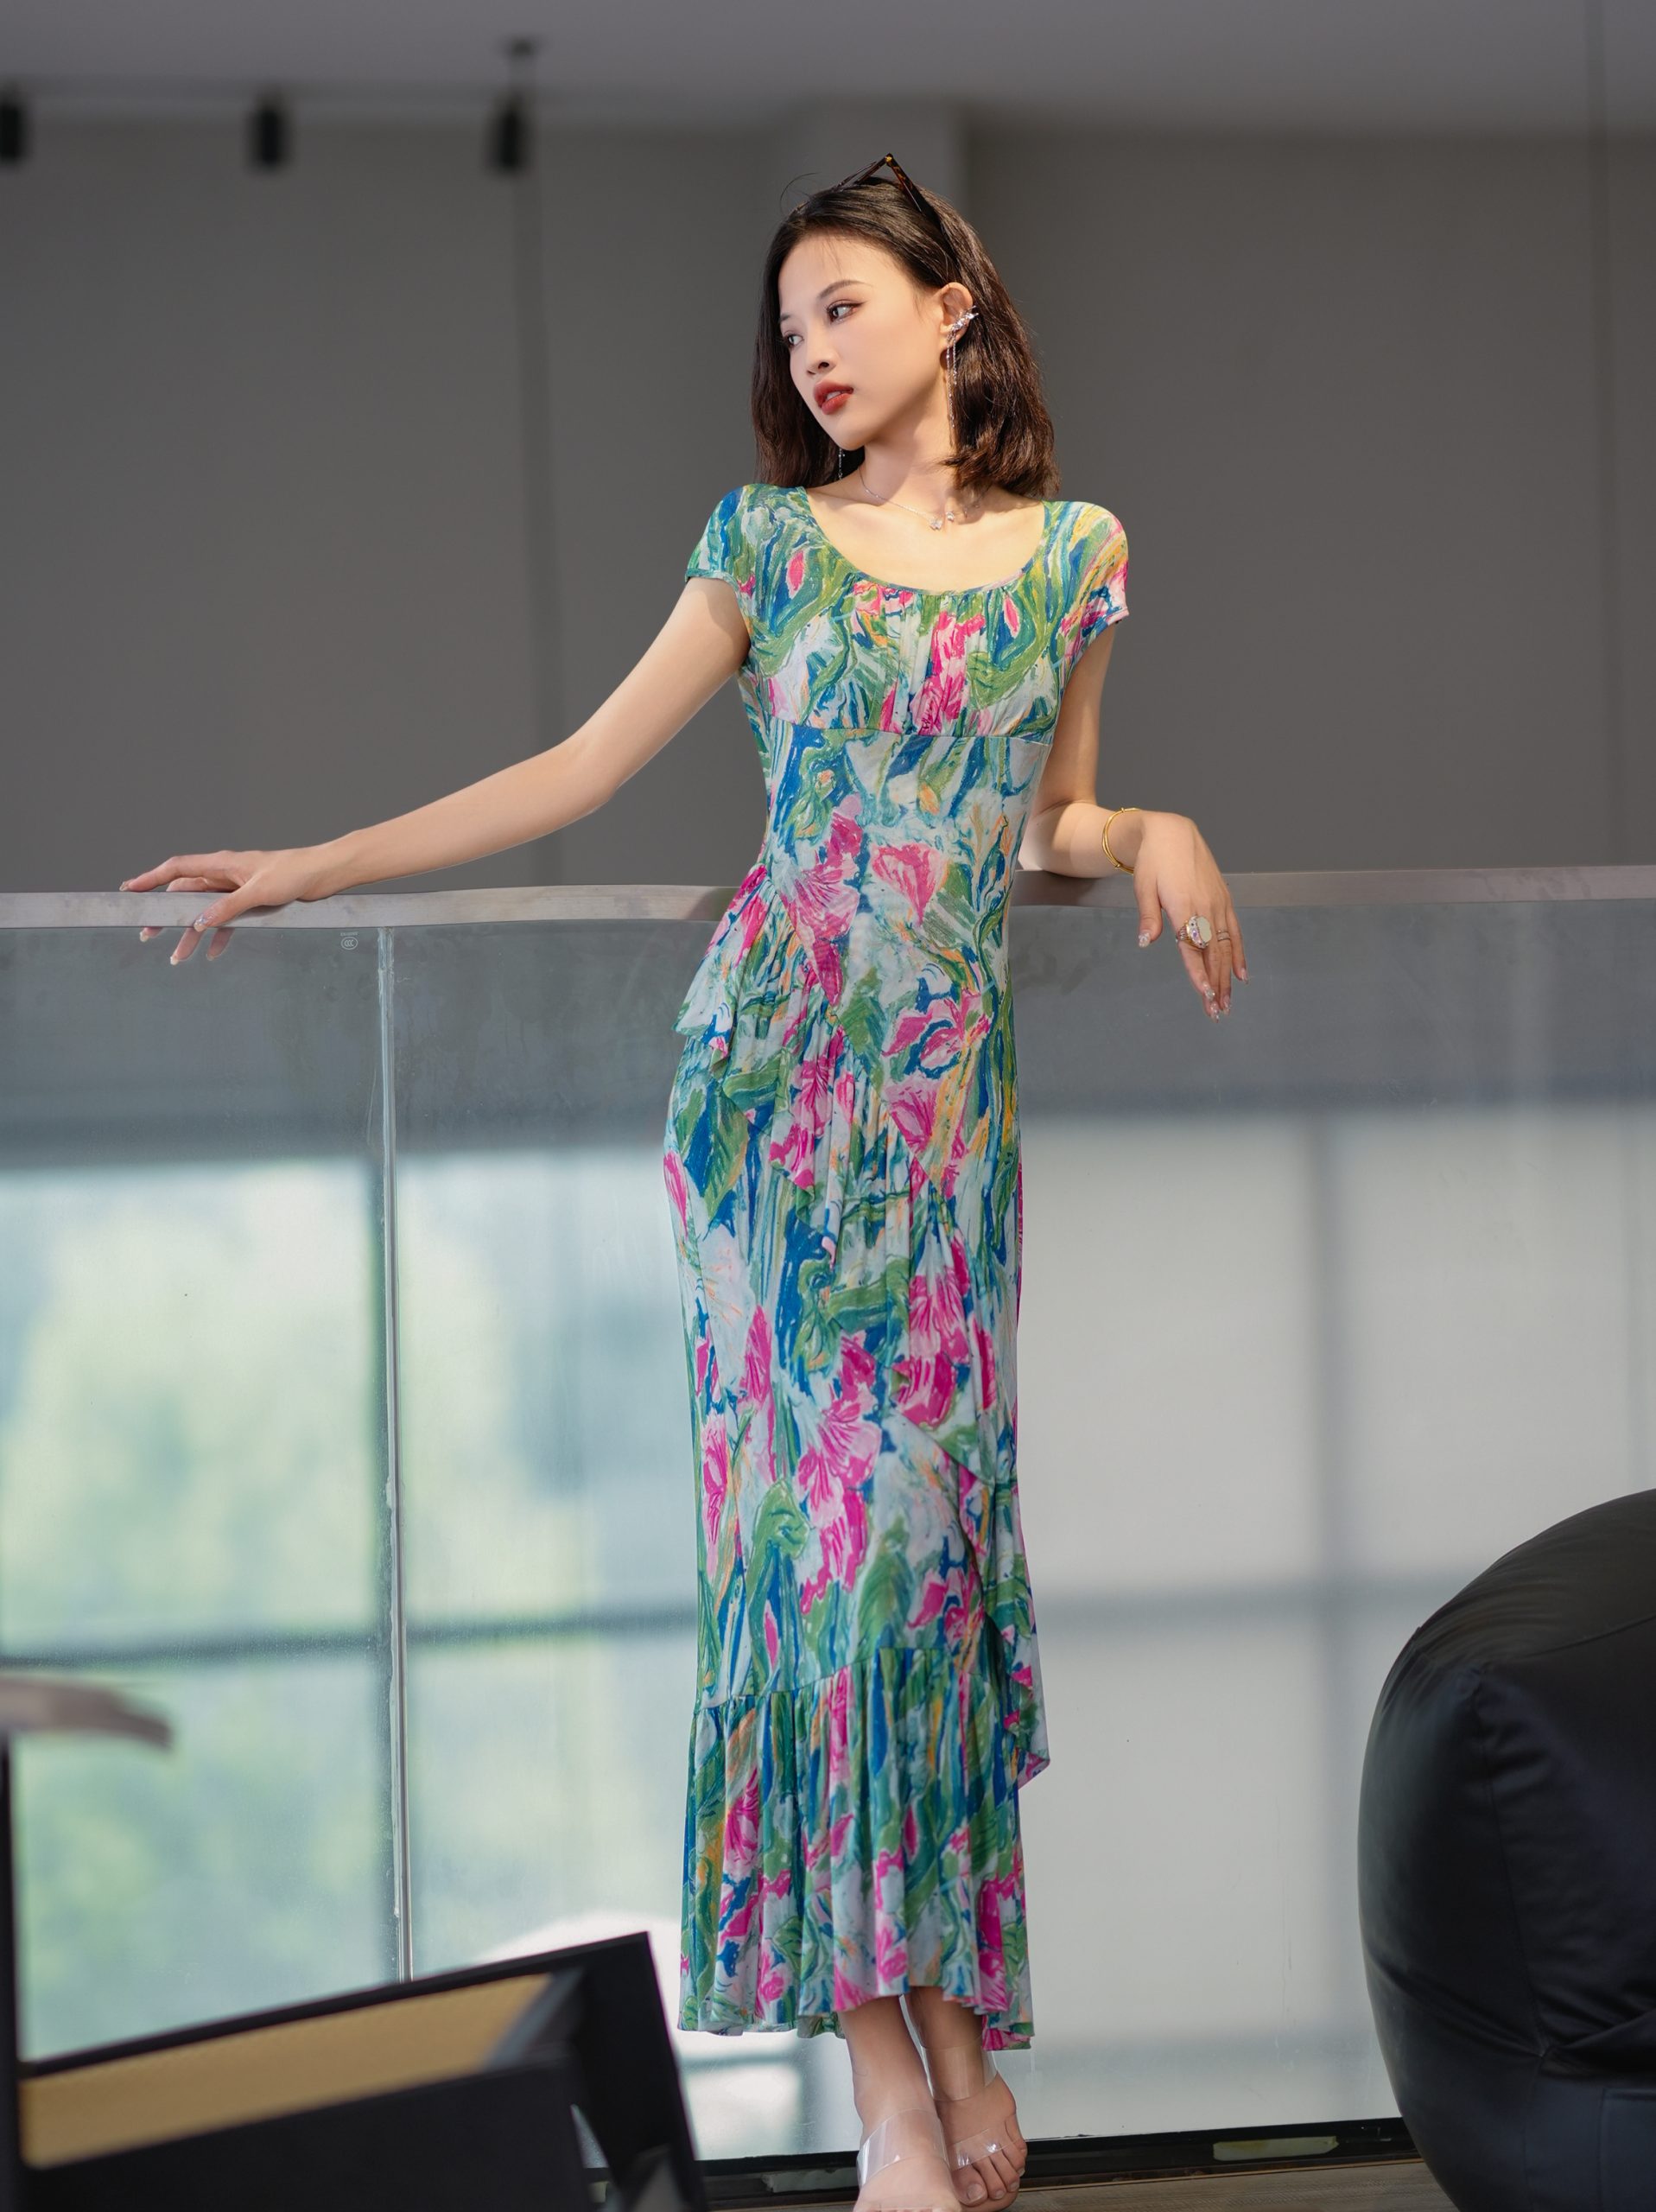
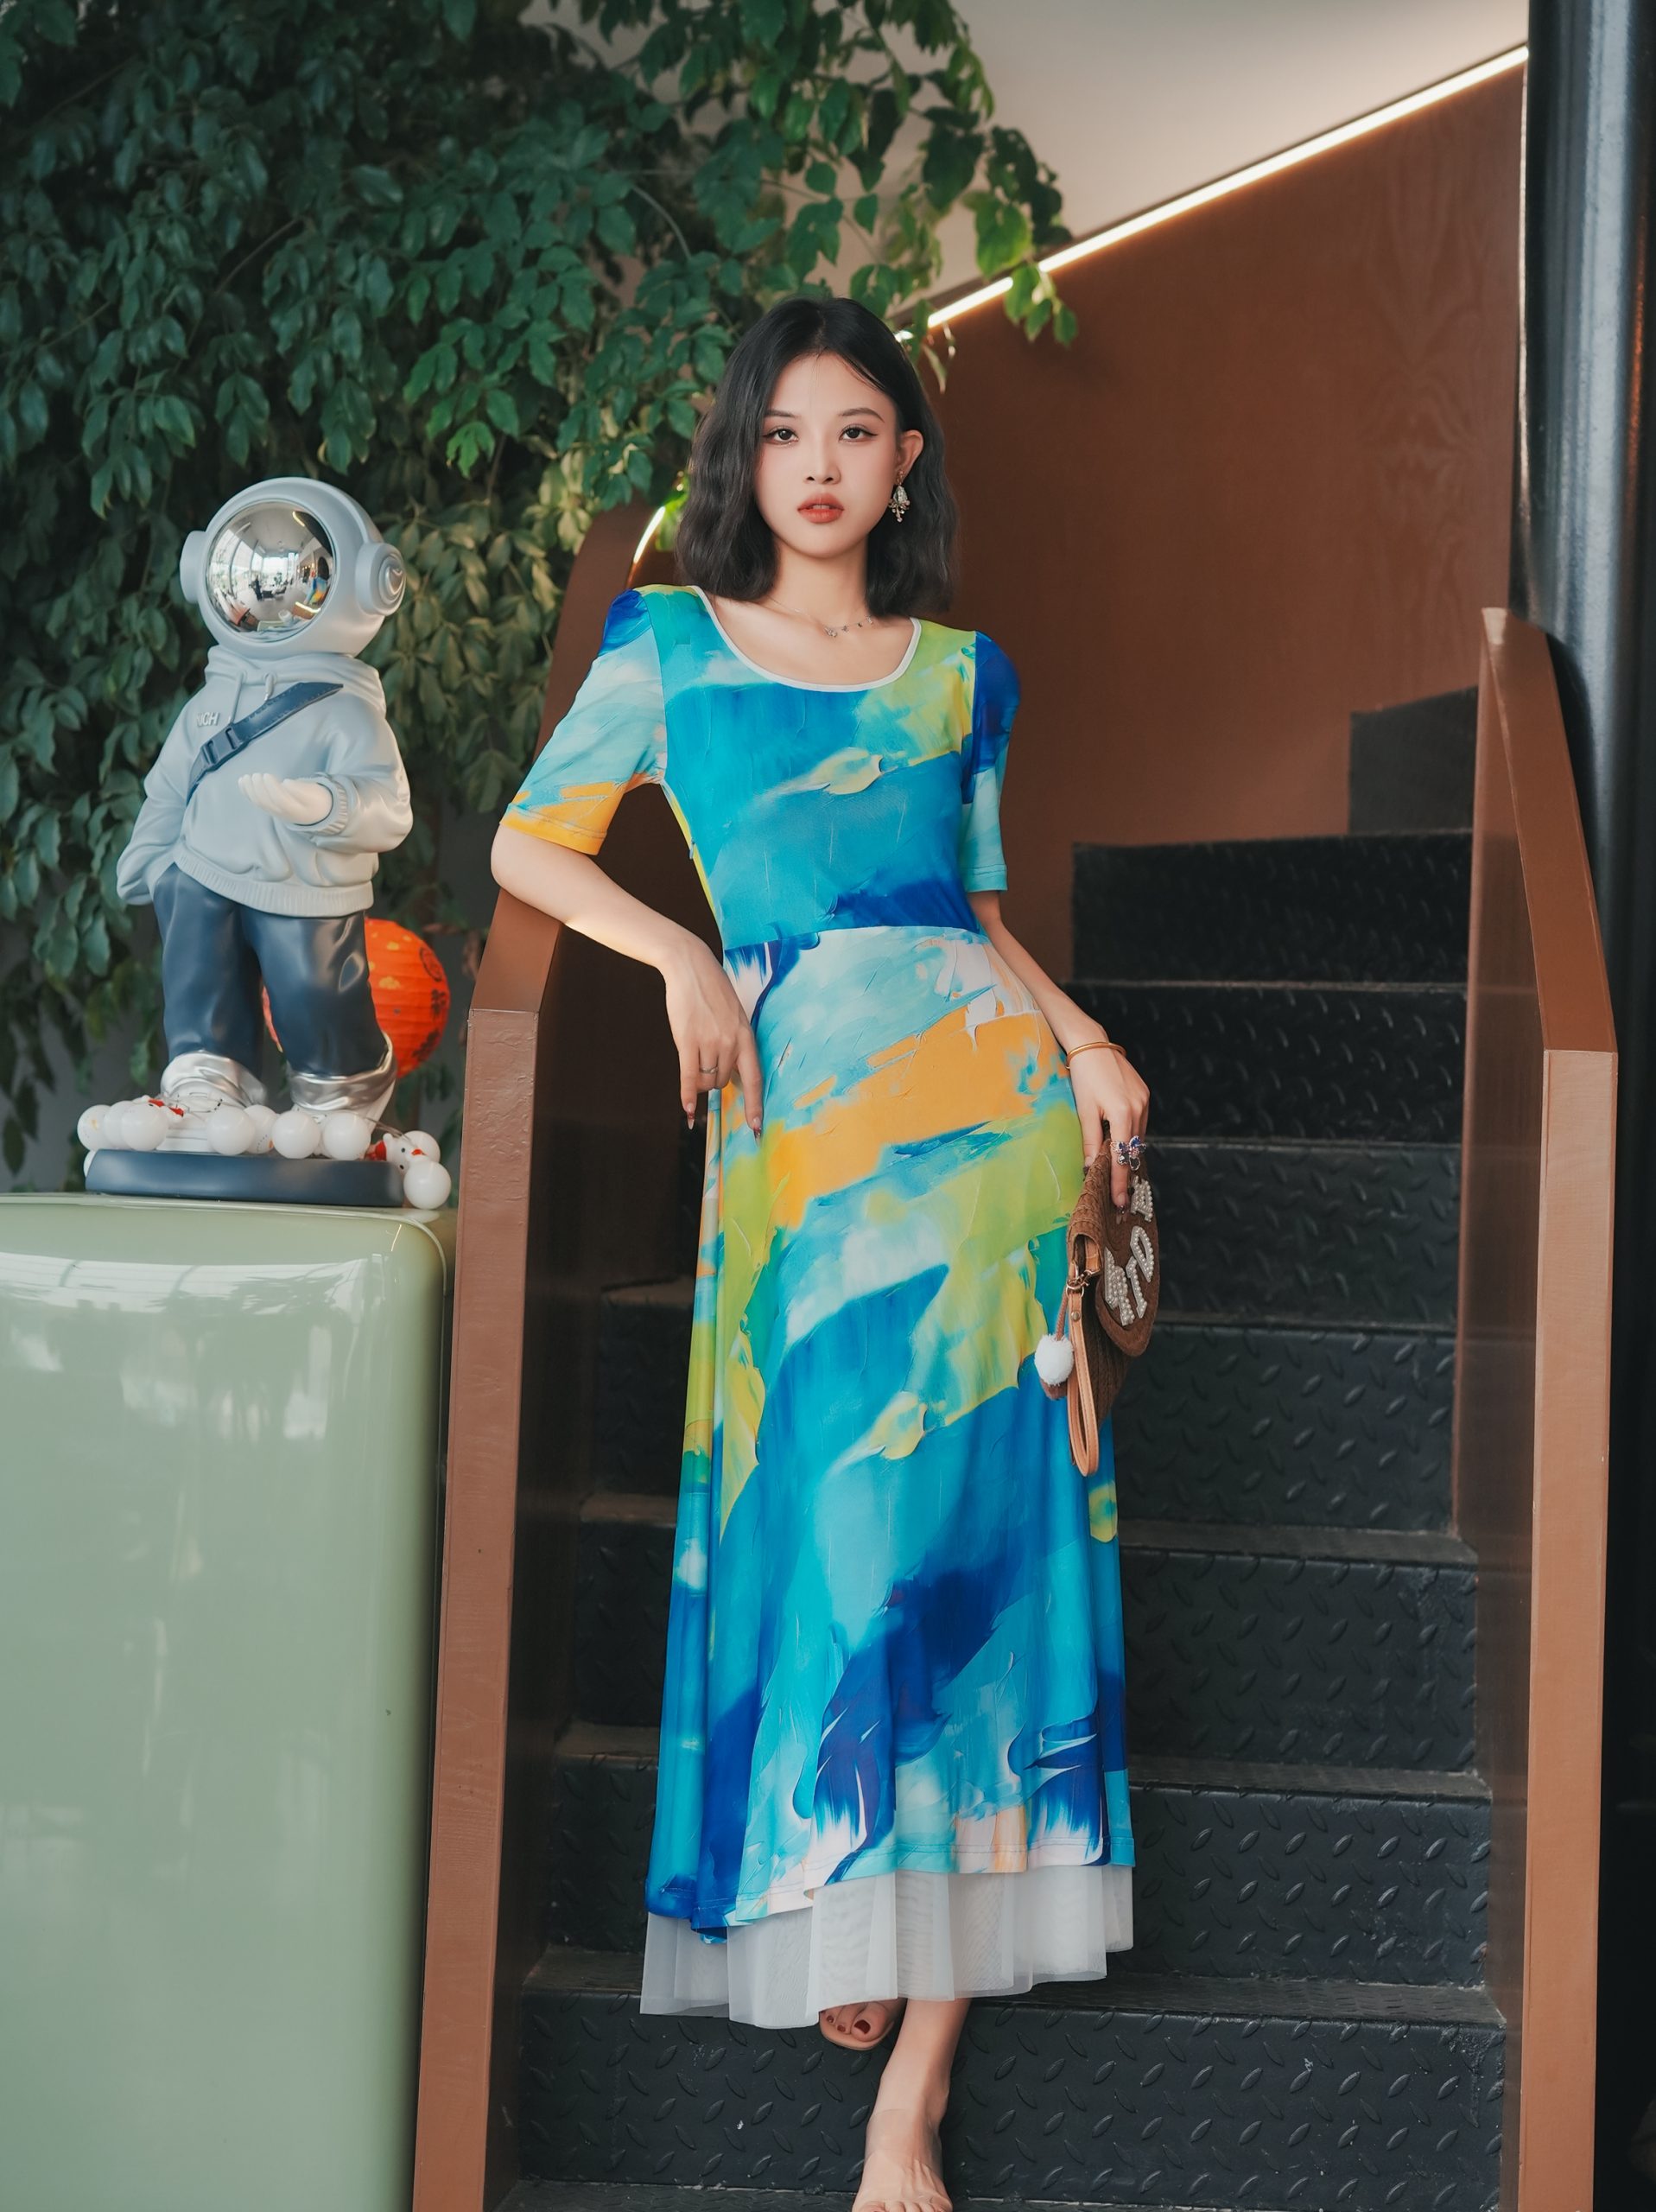
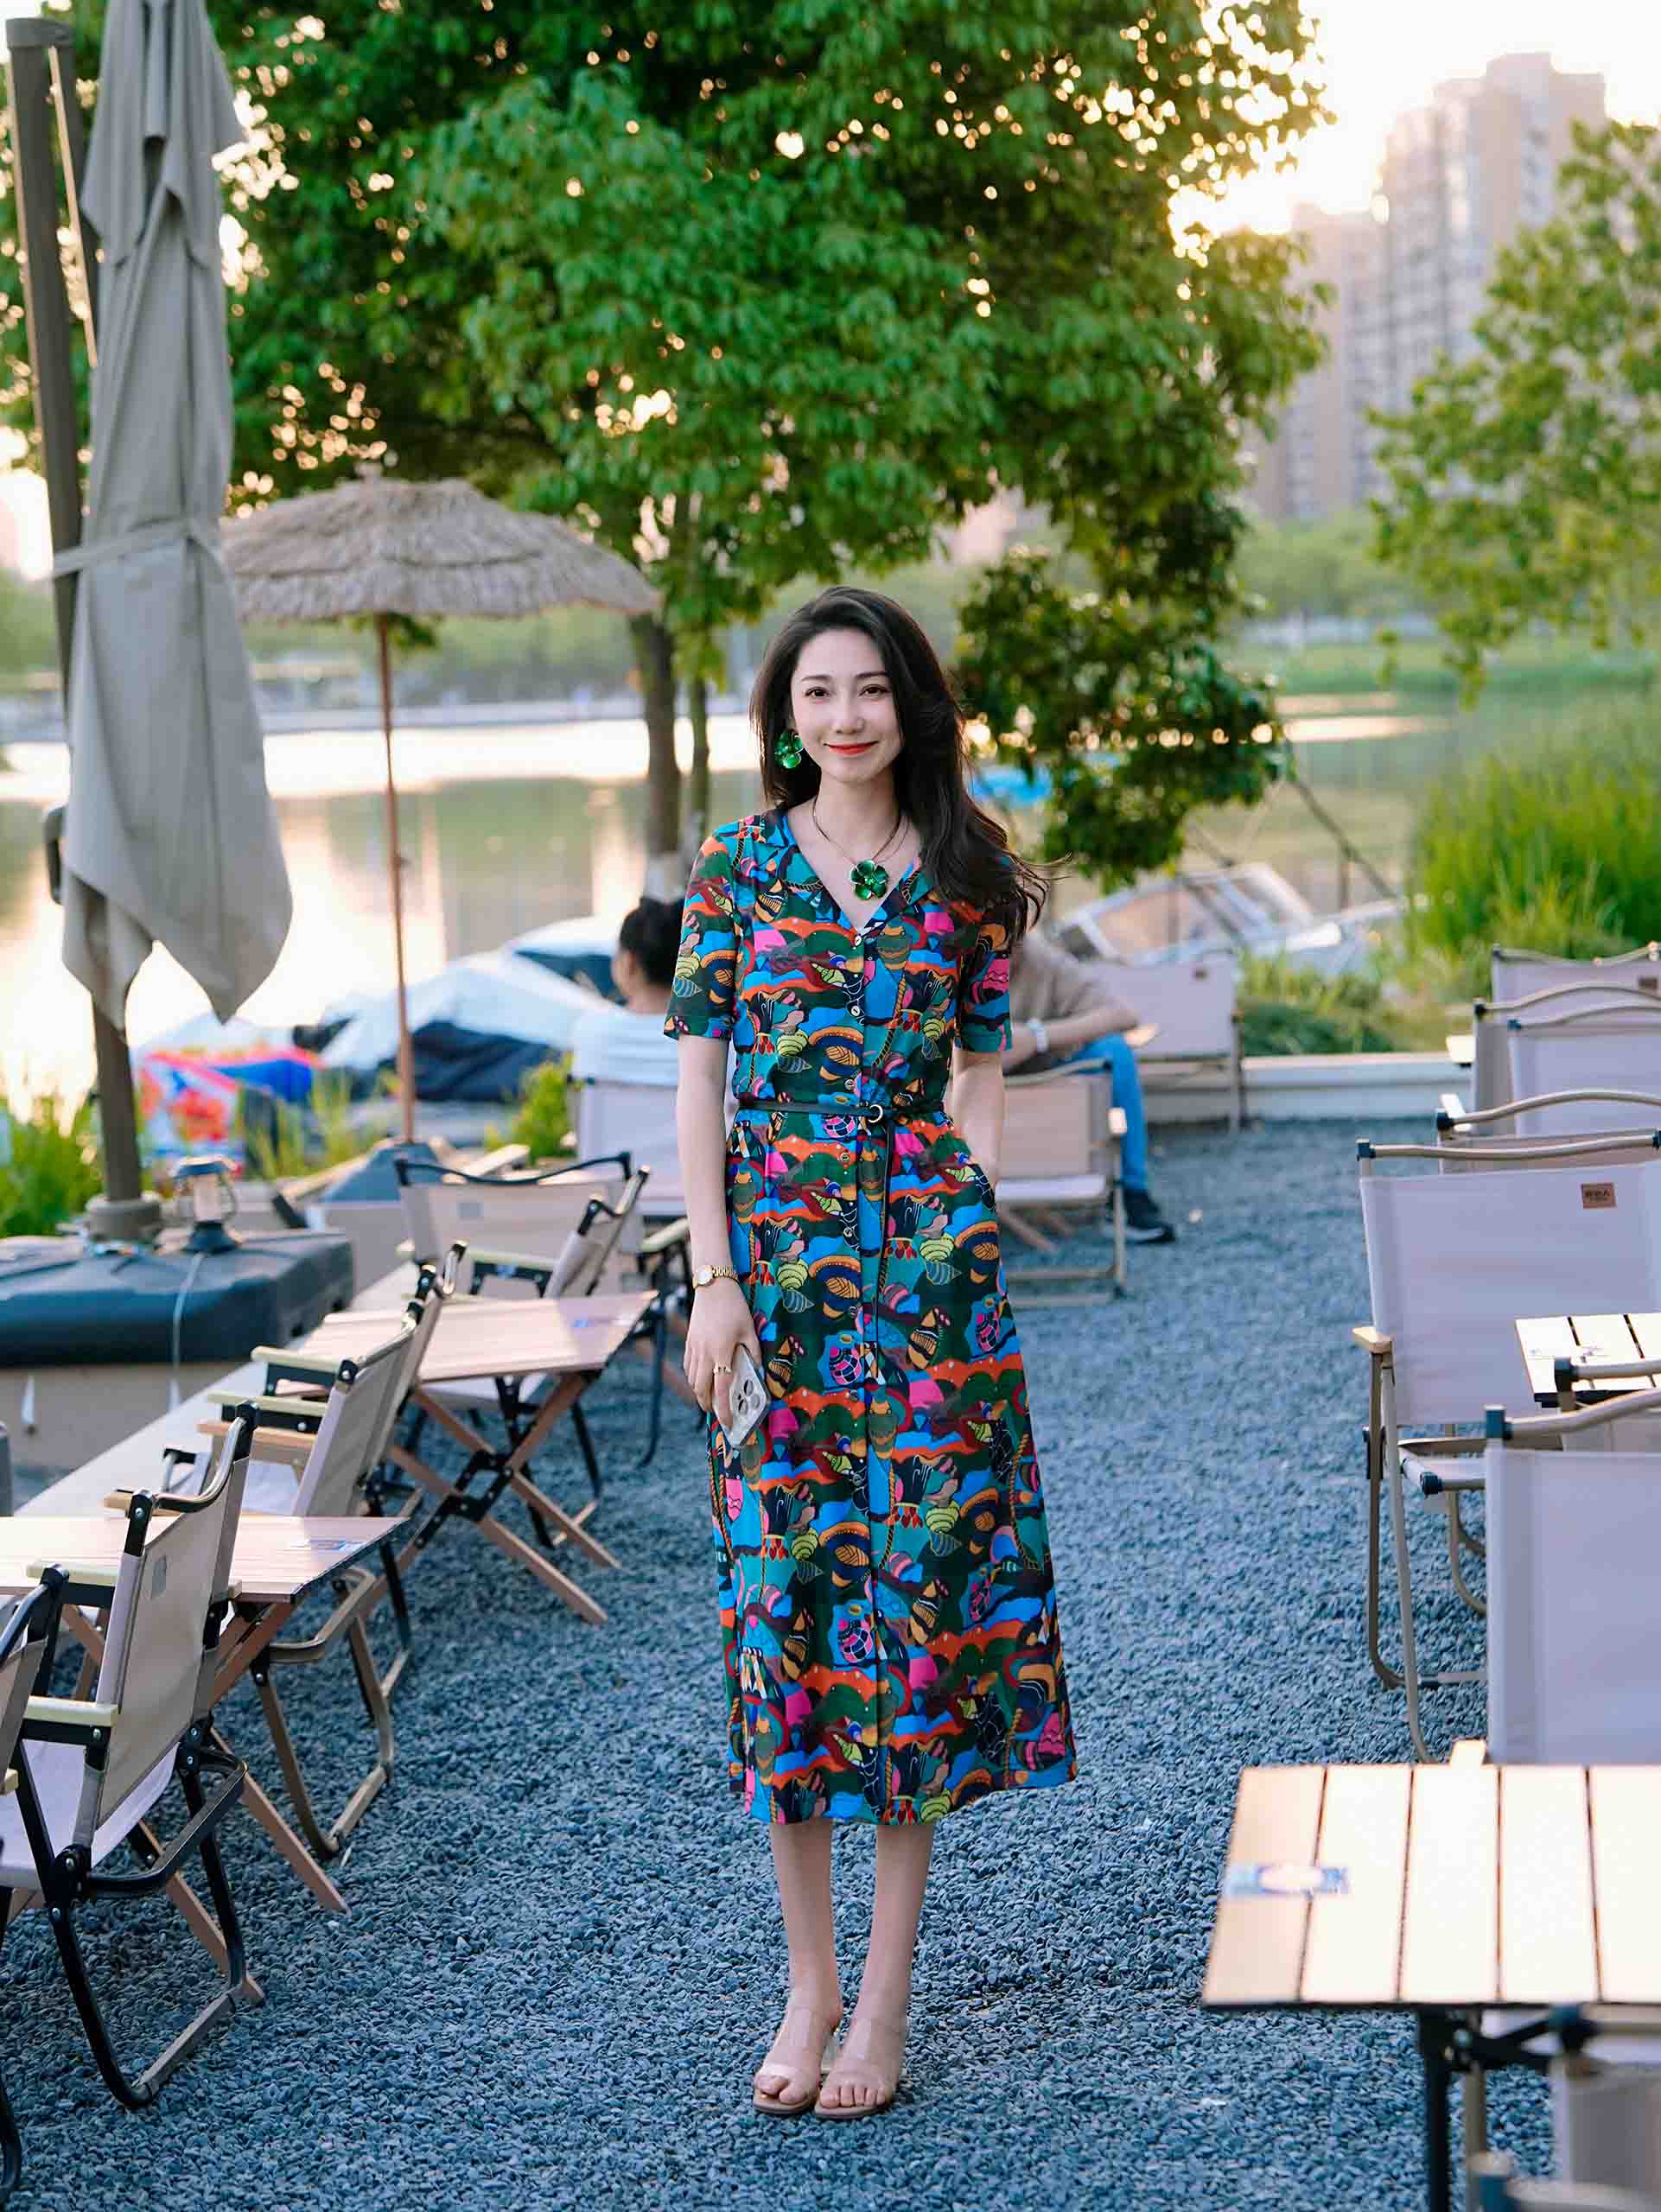
New Light luxury dresses SHOP NOW HZHJOriginal Design SHOP COLLECTION A Collection of Dress for Every Day VIEW COLLECTION Hot list Original Dress See more Category Fantastic Tops See more Women's Fashion Pants See more Summertime Pretty Pantdress See more WELCOME TO HZHJ Featured Categories Dress 5 products Ladieswear 7 products Pants 1 product Tops 1 product WELCOME TO HZHJ Featured Products LADYSWEAR -5% Select options This product has multiple variants. The options may be chosen on the product page Quick view Add to compare Add to wishlist Designer’s dreamy coral dress with cross floral light luxury runway Dress $61.31 Original price was: $61.31.$58.24Current price is: $58.24. -6% Select options This product has multiple variants. The options may be chosen on the product page Quick view Add to compare Add to wishlist HZHJ designer’s new dazzling round neck top with fashionable and sexy temperament slim fit and retro print Tops $46.53 Original price was: $46.53.$43.70Current price is: $43.70. -5% Select options This product has multiple variants. The options may be chosen on the product page Quick view Add to compare Add to wishlist HZHJ original designer’s black dot starry star dress looks slim and high-end temperament Dress $155.22 Original price was: $155.22.$147.45Current price is: $147.45. -5% Select options This product has multiple variants. The options may be chosen on the product page Quick view Add to compare Add to wishlist HZHJ original designer’s pink butterfly pants, casual and slimming high-end and luxurious Pants $43.11 Original price was: $43.11.$40.95Current price is: $40.95. -5% Select options This product has multiple variants. The options may be chosen on the product page Quick view Add to compare Add to wishlist HZHJ’s new original designer’s ink floral ins dress is a niche mid sleeve French western-style queen Dress $76.96 Original price was: $76.96.$73.11Current price is: $73.11. -5% Select options This product has multiple variants. The options may be chosen on the product page Quick view Add to compare Add to wishlist Original designers sky blue floral dress with french slimming effect highend western style light luxury Dress $69.47 Original price was: $69.47.$65.99Current price is: $65.99. -5% Select options This product has multiple variants. The options may be chosen on the product page Quick view Add to compare Add to wishlist Women’s long sleeved dress with printed white and slim look high-end commuting light luxury niche dress Dress $130.00 Original price was: $130.00.$123.50Current price is: $123.50. Enjoy the best quality and features made by HZHJ. SHOP NOW VIEW MORE WELCOME TO HZHJ Our Latest Posts 24 Nov HZHJ 2020 Keqiao Fashion Week —- Exquisite excess Haozhi Huaju fashion conference Posted by HZHJ August 25, 2025 0 HZHJ combines thousands of styles from famous Chinese designers to bring vibrant style and creativit... Continue reading Hi there, sign up and connect to HZHJ! Be the first to learn about our latest trends and get exclusive offers. Newsletter Subscribe HEY YOU, SIGN UP AND CONNECT TO HZHJ! Be the first to learn about our latest trends and get exclusive offers Leave this field empty if you're human: Will be used in accordance with our Privacy Policy WELCOME TO HZHJ Discover fashion and style on our online worldwide store. SHOP NOW VIEW MORE INSTAGRAM@HZHJLet to see pretty orginal degisnDress. 6110 167 2046 278 7993 973 9281 905 4232 851 1998 834 7554 482 4179 145 2395 294 1200 892 3832 160 9105 845
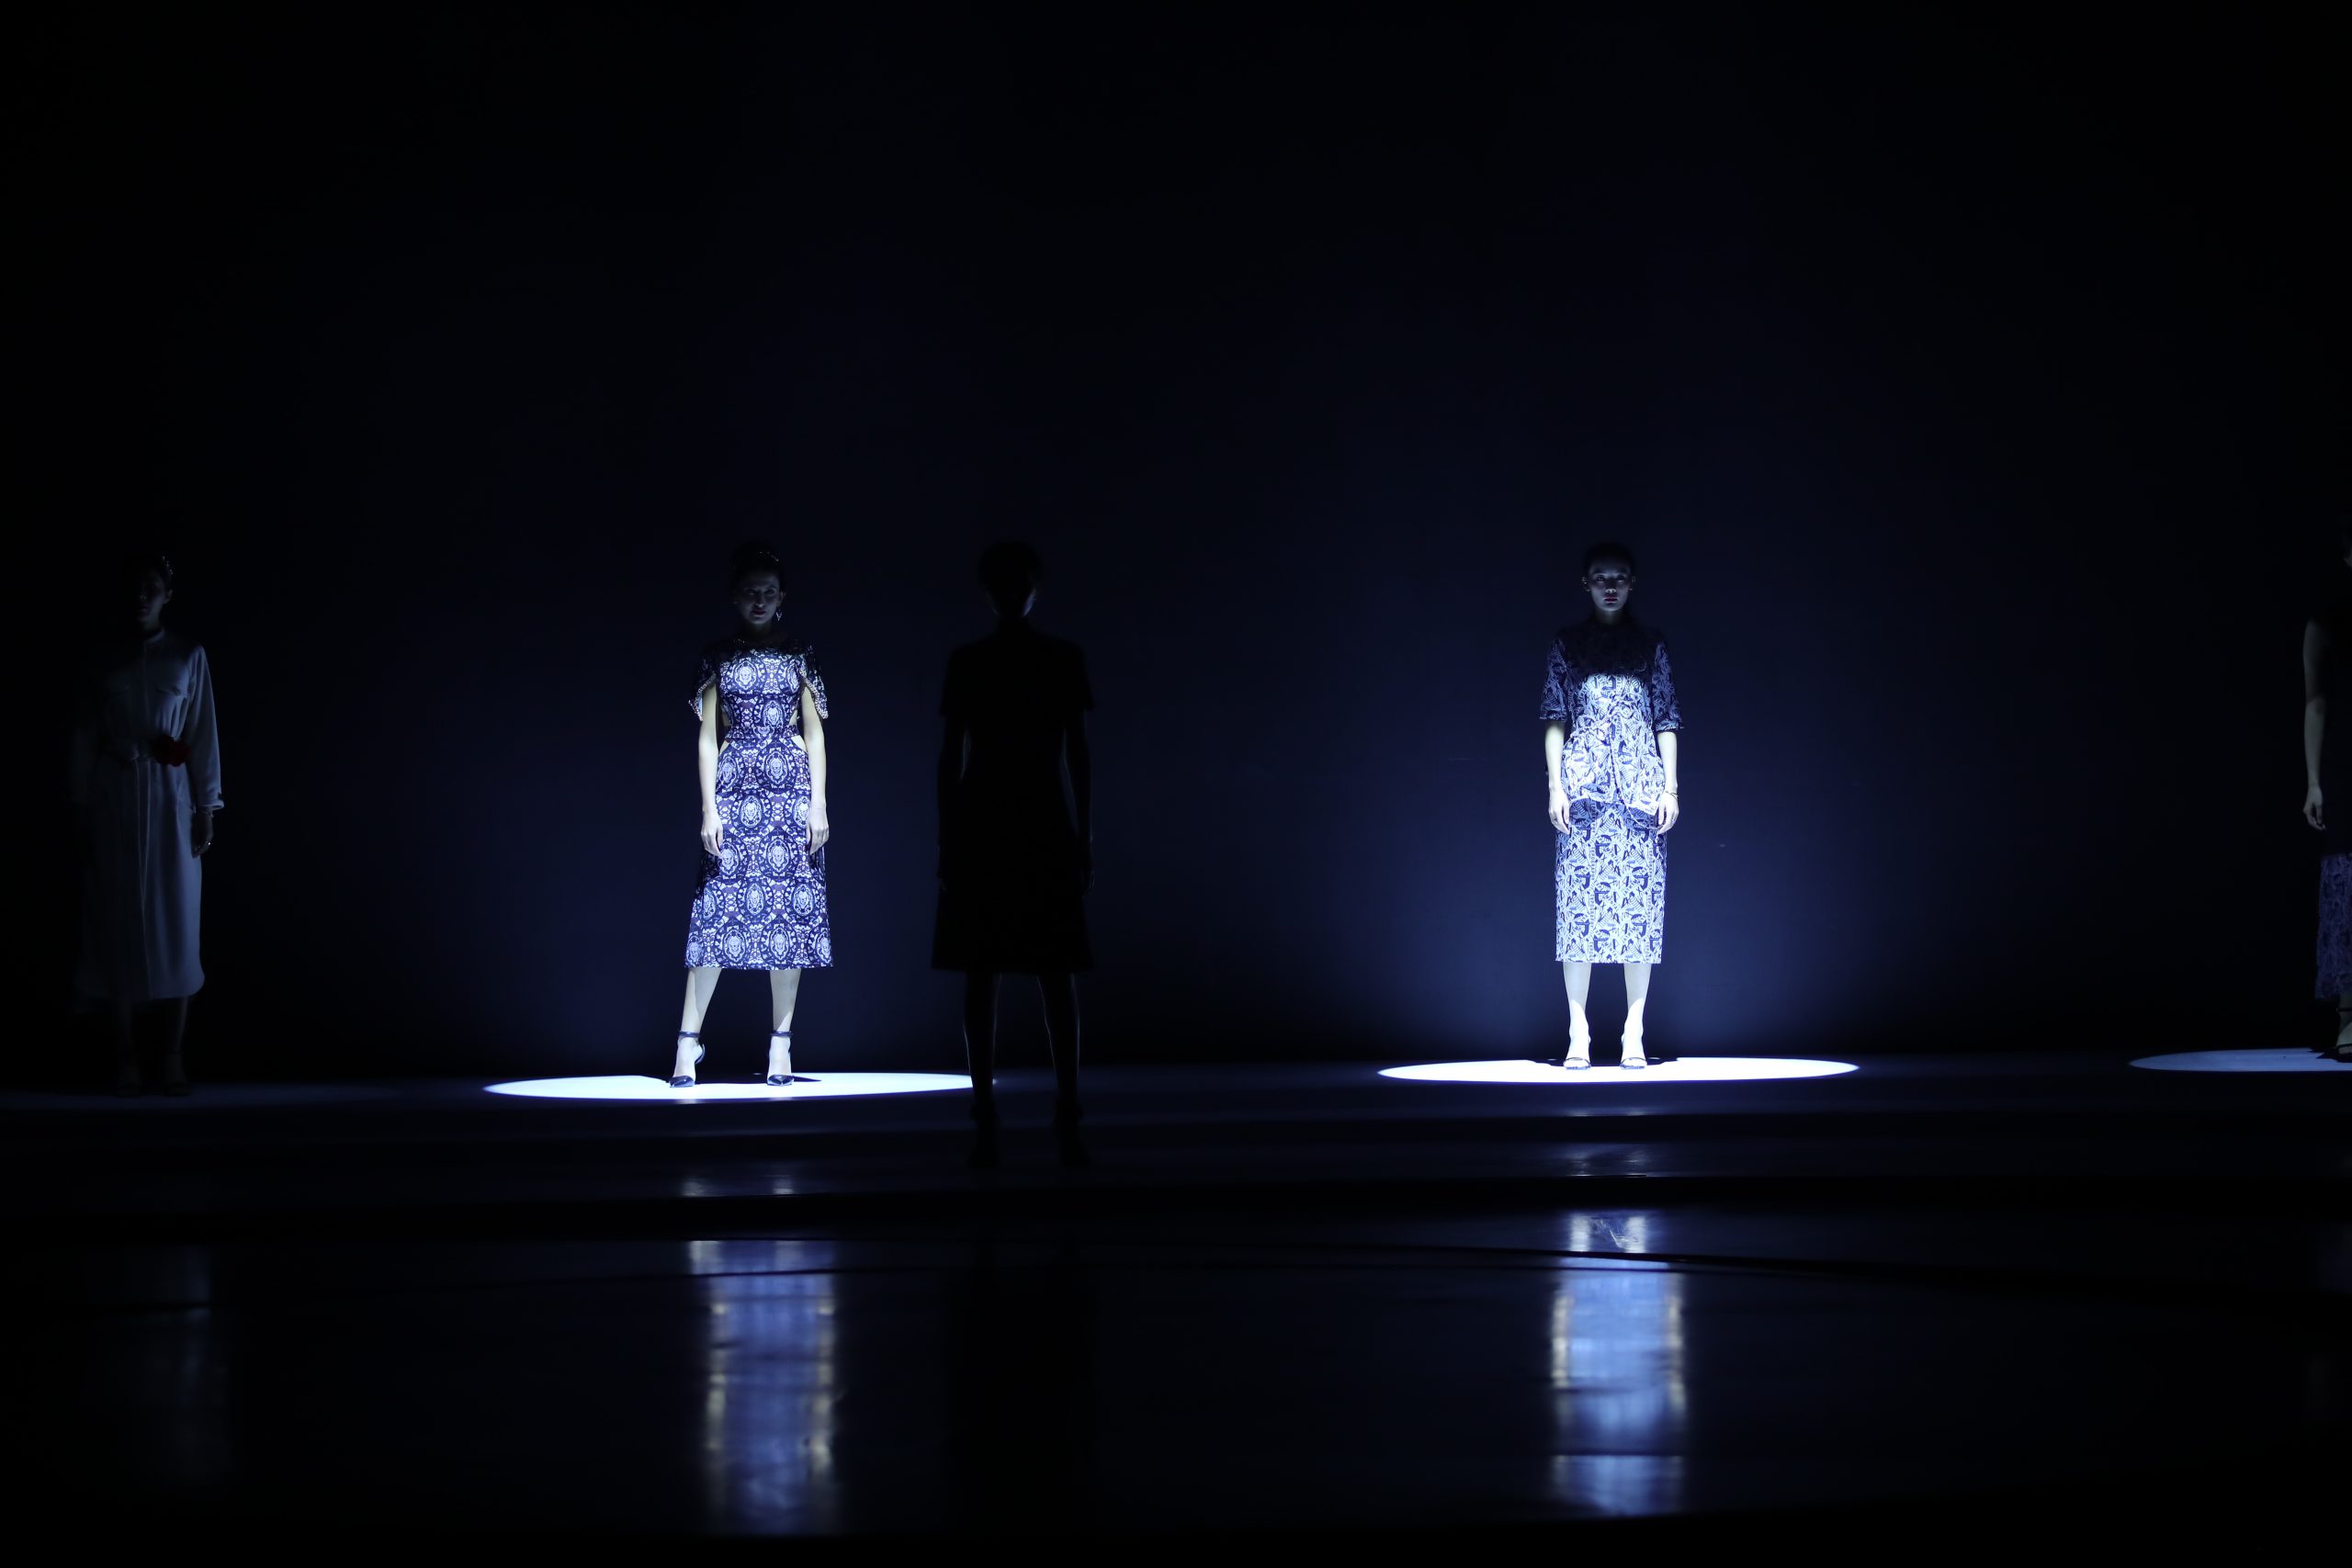
24 Nov HZHJ 2020 Keqiao Fashion Week —- Exquisite excess Haozhi Huaju fashion conference Posted by HZHJ August 25, 2025 0 HZHJ combines thousands of styles from famous Chinese designers to bring vibrant style and creativit... Continue reading